Graduation "Congrats" Themed Cake
Highlighted under: Bakery Style Recipes
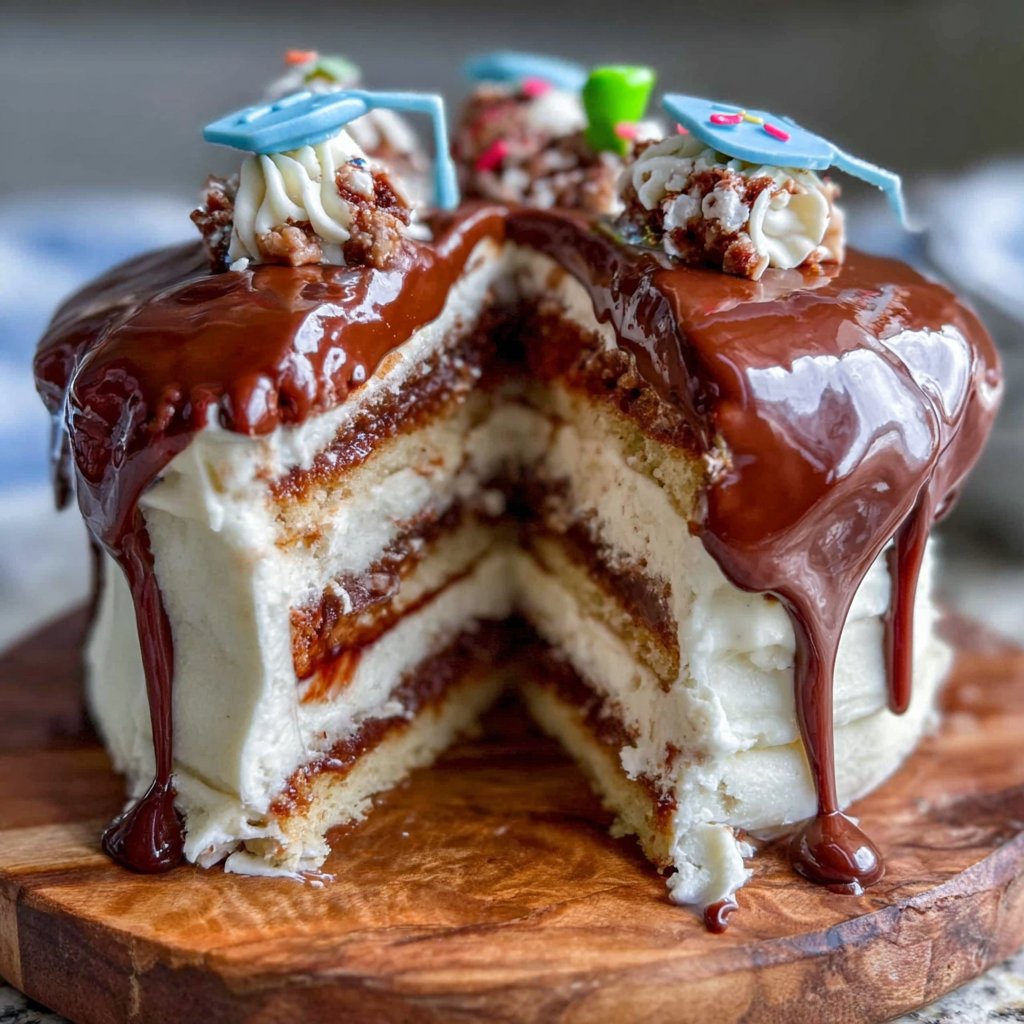
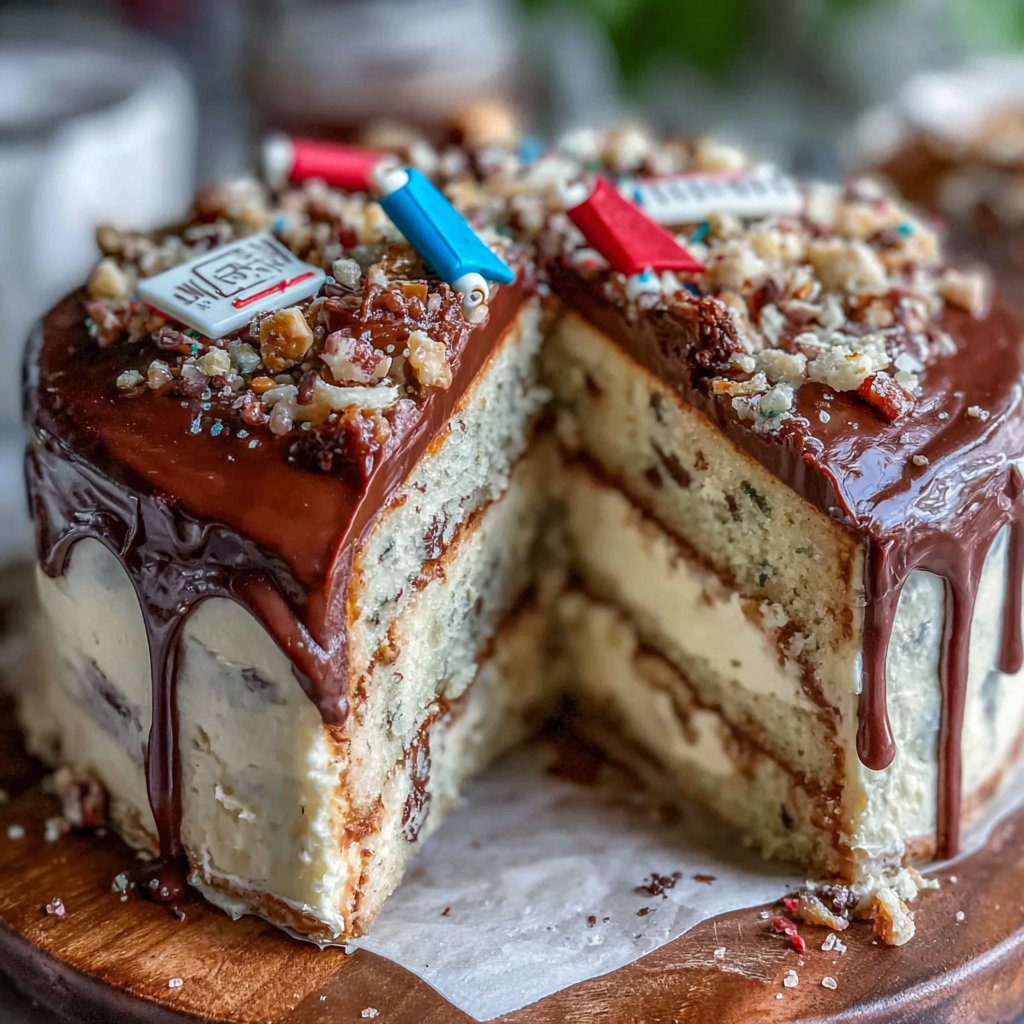
I’ve always believed that a special occasion deserves a special cake, and graduation is no exception! This Graduation "Congrats" Themed Cake is a delightful way to celebrate the achievements of your loved ones. With layers of buttery vanilla cake and rich buttercream, it’s a feast for both the eyes and the taste buds. I love how the vibrant colors and fondant decorations bring the theme to life, making each slice a mini celebration. Whether it’s for a small gathering or a large party, this cake is sure to impress everyone!
Baking this cake was a delightful experience that allowed me to get creative with my designs. I decided to incorporate the school colors and added little themed decorations like diplomas and caps on top. The cake’s texture remained moist and light, which I attribute to the buttermilk in the batter. It was rewarding to see everyone's faces light up as I presented it!
The process was made simpler by preparing a basic vanilla buttercream that pipes beautifully and holds shape well. Make sure to let your layers cool completely before icing to achieve that smooth finish. It’s these small steps that truly elevate the cake!
Why You Will Love This Cake
- Vibrant colors celebrating the achievement
- Moist and fluffy layers with a classic vanilla flavor
- Customizable decorations to suit any graduation theme
Understanding the Ingredients
The choice of all-purpose flour is crucial for this cake, providing the right structure without being too dense. While cake flour can be used for a lighter texture, it may alter the sturdiness of your cake, making assembly trickier. Butter plays a vital role in creating moist, flavorful layers; it's important to ensure your butter is at room temperature for easy creaming. This method allows air to be incorporated into the batter, resulting in that desired fluffy texture.
Buttermilk contributes to the cake's tender crumb thanks to its acidity, which helps break down proteins in the flour. If you don’t have buttermilk on hand, you can easily make a substitute by mixing a tablespoon of vinegar or lemon juice with a cup of milk and letting it sit for about 5-10 minutes. This quick fix will preserve the moisture and flavor balance needed in your cake layers, ensuring they remain moist and delicious.
Buttercream: The Sweet Finish
The buttercream is not just a delicious filling but also vital for achieving a smooth finish on your cake. Make sure to use room temperature butter to ensure easy mixing and a creamy texture. If the buttercream feels too stiff, a tablespoon of milk or cream can be added to reach your desired consistency. Conversely, if it seems too soft, let it chill in the fridge for a few minutes, which will help it firm up before decorating.
To really enhance your buttercream, consider experimenting with different flavors! Adding a splash of almond extract, or even a few tablespoons of cocoa powder for a chocolate twist, can provide a delightful surprise. Color your buttercream in shades that reflect the school colors, using gel food colorings for vibrant hues that won't alter the consistency. This customization not only looks appealing but also adds an element of personalization to your graduation cake.
Ingredients
Gather these ingredients to create your delicious graduation cake:
For the Cake
- 3 cups all-purpose flour
- 2 1/2 cups granulated sugar
- 1 cup unsalted butter, softened
- 1 cup buttermilk, room temperature
- 5 large eggs
- 1 tablespoon vanilla extract
- 1 tablespoon baking powder
- 1 teaspoon baking soda
- 1/2 teaspoon salt
For the Buttercream
- 1 cup unsalted butter, softened
- 4 cups powdered sugar
- 1/4 cup heavy cream
- 1 tablespoon vanilla extract
- Food coloring (optional)
- Decorations (fondant, sprinkles, etc.)
Instructions
Follow these steps to create your beautiful graduation cake:
Prepare the Cake Layers
Preheat your oven to 350°F (175°C). Grease and flour three 9-inch round cake pans. In a large bowl, cream together the butter and sugar until light and fluffy. Add the eggs one at a time, beating well after each addition. Stir in the vanilla extract. In a separate bowl, combine flour, baking powder, baking soda, and salt. Gradually add the dry ingredients to the wet mixture, alternating with the buttermilk. Mix until just combined.
Bake the Cake
Divide the batter evenly among the prepared pans. Bake for 30-40 minutes or until a toothpick inserted into the center comes out clean. Allow the cakes to cool in the pans for 10 minutes before transferring them to wire racks to cool completely.
Make the Buttercream
In a mixing bowl, beat the softened butter until creamy. Gradually add the powdered sugar, mixing on low speed. Once combined, add heavy cream and vanilla extract. Beat on high for about 3 minutes until light and fluffy. If using food coloring, mix it in until you reach your desired shade.
Decorate the Cake
Once the cake layers are completely cool, spread a layer of buttercream between each cake layer, stacking them neatly. Use the remaining buttercream to frost the top and sides of the cake. Decorate with fondant designs or sprinkles to match the graduation theme.
Pro Tips
- For best results, chill the buttercream for 20 minutes before frosting to make it easier to handle. Be sure to use a spatula to create smooth edges, and don't hesitate to add more decorations for a personal touch!
Tips for Perfect Cake Layers
To prevent your cake layers from doming, be sure to level the batter in the pans before baking. Using an offset spatula can make this task easier, ensuring even layers that stack beautifully. Additionally, placing a pan of water on the lower rack of your oven while baking can help maintain moisture levels, preventing any dryness during the baking process. Keep an eye on the cakes as they approach the 30-minute mark to avoid overbaking, which can lead to a crumbly texture.
Let the cakes cool completely on wire racks to avoid a gummy texture on the bottoms. Avoid the temptation to frost them while they are still warm, as this can melt the buttercream, ruining the final presentation. If you are unsure about the cooling time, allowing them to sit for at least an hour is a safe bet, ensuring they are firm and ready for frosting.
Storage and Serving Suggestions
This Graduation "Congrats" Themed Cake can be stored tightly wrapped in plastic wrap at room temperature for up to three days. If you need to keep it longer, consider refrigerating it, where it can last for about a week. Just make sure to bring it back to room temperature before serving for the best flavor and texture. If freezing, wrap individual layers in plastic and aluminum foil; it will freeze well for up to two months.
When serving, consider pairing each slice with a scoop of vanilla ice cream or fresh berries for an extra touch of indulgence. For a more formal presentation, place each slice on a decorated plate and garnish with a sprig of mint or a light drizzle of chocolate sauce for added flair. Personal touches like these can elevate the cake experience, making each serving feel like a special occasion of its own.
Questions About Recipes
→ Can I use a different flavor for the cake?
Absolutely! You can substitute vanilla for chocolate, lemon, or any flavor you prefer.
→ How can I store the cake?
Store the cake in an airtight container at room temperature for up to 3 days, or refrigerate for longer shelf life.
→ Can I make this cake in advance?
Yes, you can bake the cake layers a day ahead and store them wrapped tightly in plastic wrap at room temperature.
→ What type of food coloring works best for the decorations?
Gel food coloring gives a more vibrant color without altering the cake's texture!
Graduation "Congrats" Themed Cake
Created by: The Spiceandpan Team
Recipe Type: Bakery Style Recipes
Skill Level: Intermediate
Final Quantity: 12 slices
What You'll Need
For the Cake
- 3 cups all-purpose flour
- 2 1/2 cups granulated sugar
- 1 cup unsalted butter, softened
- 1 cup buttermilk, room temperature
- 5 large eggs
- 1 tablespoon vanilla extract
- 1 tablespoon baking powder
- 1 teaspoon baking soda
- 1/2 teaspoon salt
For the Buttercream
- 1 cup unsalted butter, softened
- 4 cups powdered sugar
- 1/4 cup heavy cream
- 1 tablespoon vanilla extract
- Food coloring (optional)
- Decorations (fondant, sprinkles, etc.)
How-To Steps
Preheat your oven to 350°F (175°C). Grease and flour three 9-inch round cake pans. In a large bowl, cream together the butter and sugar until light and fluffy. Add the eggs one at a time, beating well after each addition. Stir in the vanilla extract. In a separate bowl, combine flour, baking powder, baking soda, and salt. Gradually add the dry ingredients to the wet mixture, alternating with the buttermilk. Mix until just combined.
Divide the batter evenly among the prepared pans. Bake for 30-40 minutes or until a toothpick inserted into the center comes out clean. Allow the cakes to cool in the pans for 10 minutes before transferring them to wire racks to cool completely.
In a mixing bowl, beat the softened butter until creamy. Gradually add the powdered sugar, mixing on low speed. Once combined, add heavy cream and vanilla extract. Beat on high for about 3 minutes until light and fluffy. If using food coloring, mix it in until you reach your desired shade.
Once the cake layers are completely cool, spread a layer of buttercream between each cake layer, stacking them neatly. Use the remaining buttercream to frost the top and sides of the cake. Decorate with fondant designs or sprinkles to match the graduation theme.
Extra Tips
- For best results, chill the buttercream for 20 minutes before frosting to make it easier to handle. Be sure to use a spatula to create smooth edges, and don't hesitate to add more decorations for a personal touch!
Nutritional Breakdown (Per Serving)
- Calories: 400 kcal
- Total Fat: 22g
- Saturated Fat: 14g
- Cholesterol: 90mg
- Sodium: 230mg
- Total Carbohydrates: 50g
- Dietary Fiber: 1g
- Sugars: 35g
- Protein: 4g